A Gemba checklist is a list of items and questions used during a Gemba Walk.
The checklist:
helps you observe work processes on-site.
focuses on safety, quality and efficiency.
drives continuous improvement.
The Gemba Walk Assistant by iObeya allows to validate compliance or non-compliance of processes using cheklists. You can:
customize Gemba checklists to fit your organization’s goals.
pre-configure each Gemba for seamless integration with your iObeya boards.
assign checklists to users concerned by Gemba Walk.
have a number of checklists and users to support deployment across all your sites.
In this article, learn how to create a Gemba checklist in the Gemba Walk Assistant by iObeya.
Warning:
You can define up to 600 Gemba checklists per platform: 500 published and 100 in draft.
Divide each checklist into up to 10 steps.
Divide each checklist step into up to 20 points to check.
To create a Gemba cheklist:
Access the checklist configuration.
Access Requirements:
An iObeya license is required to use Gemba Walk Assistant. See iObeya Licensing to find out more.
Please contact your iObeya consultants directly to receive the access link to the checklist configuration. Log in with your iObeya credentials.
Click + Create a checklist.
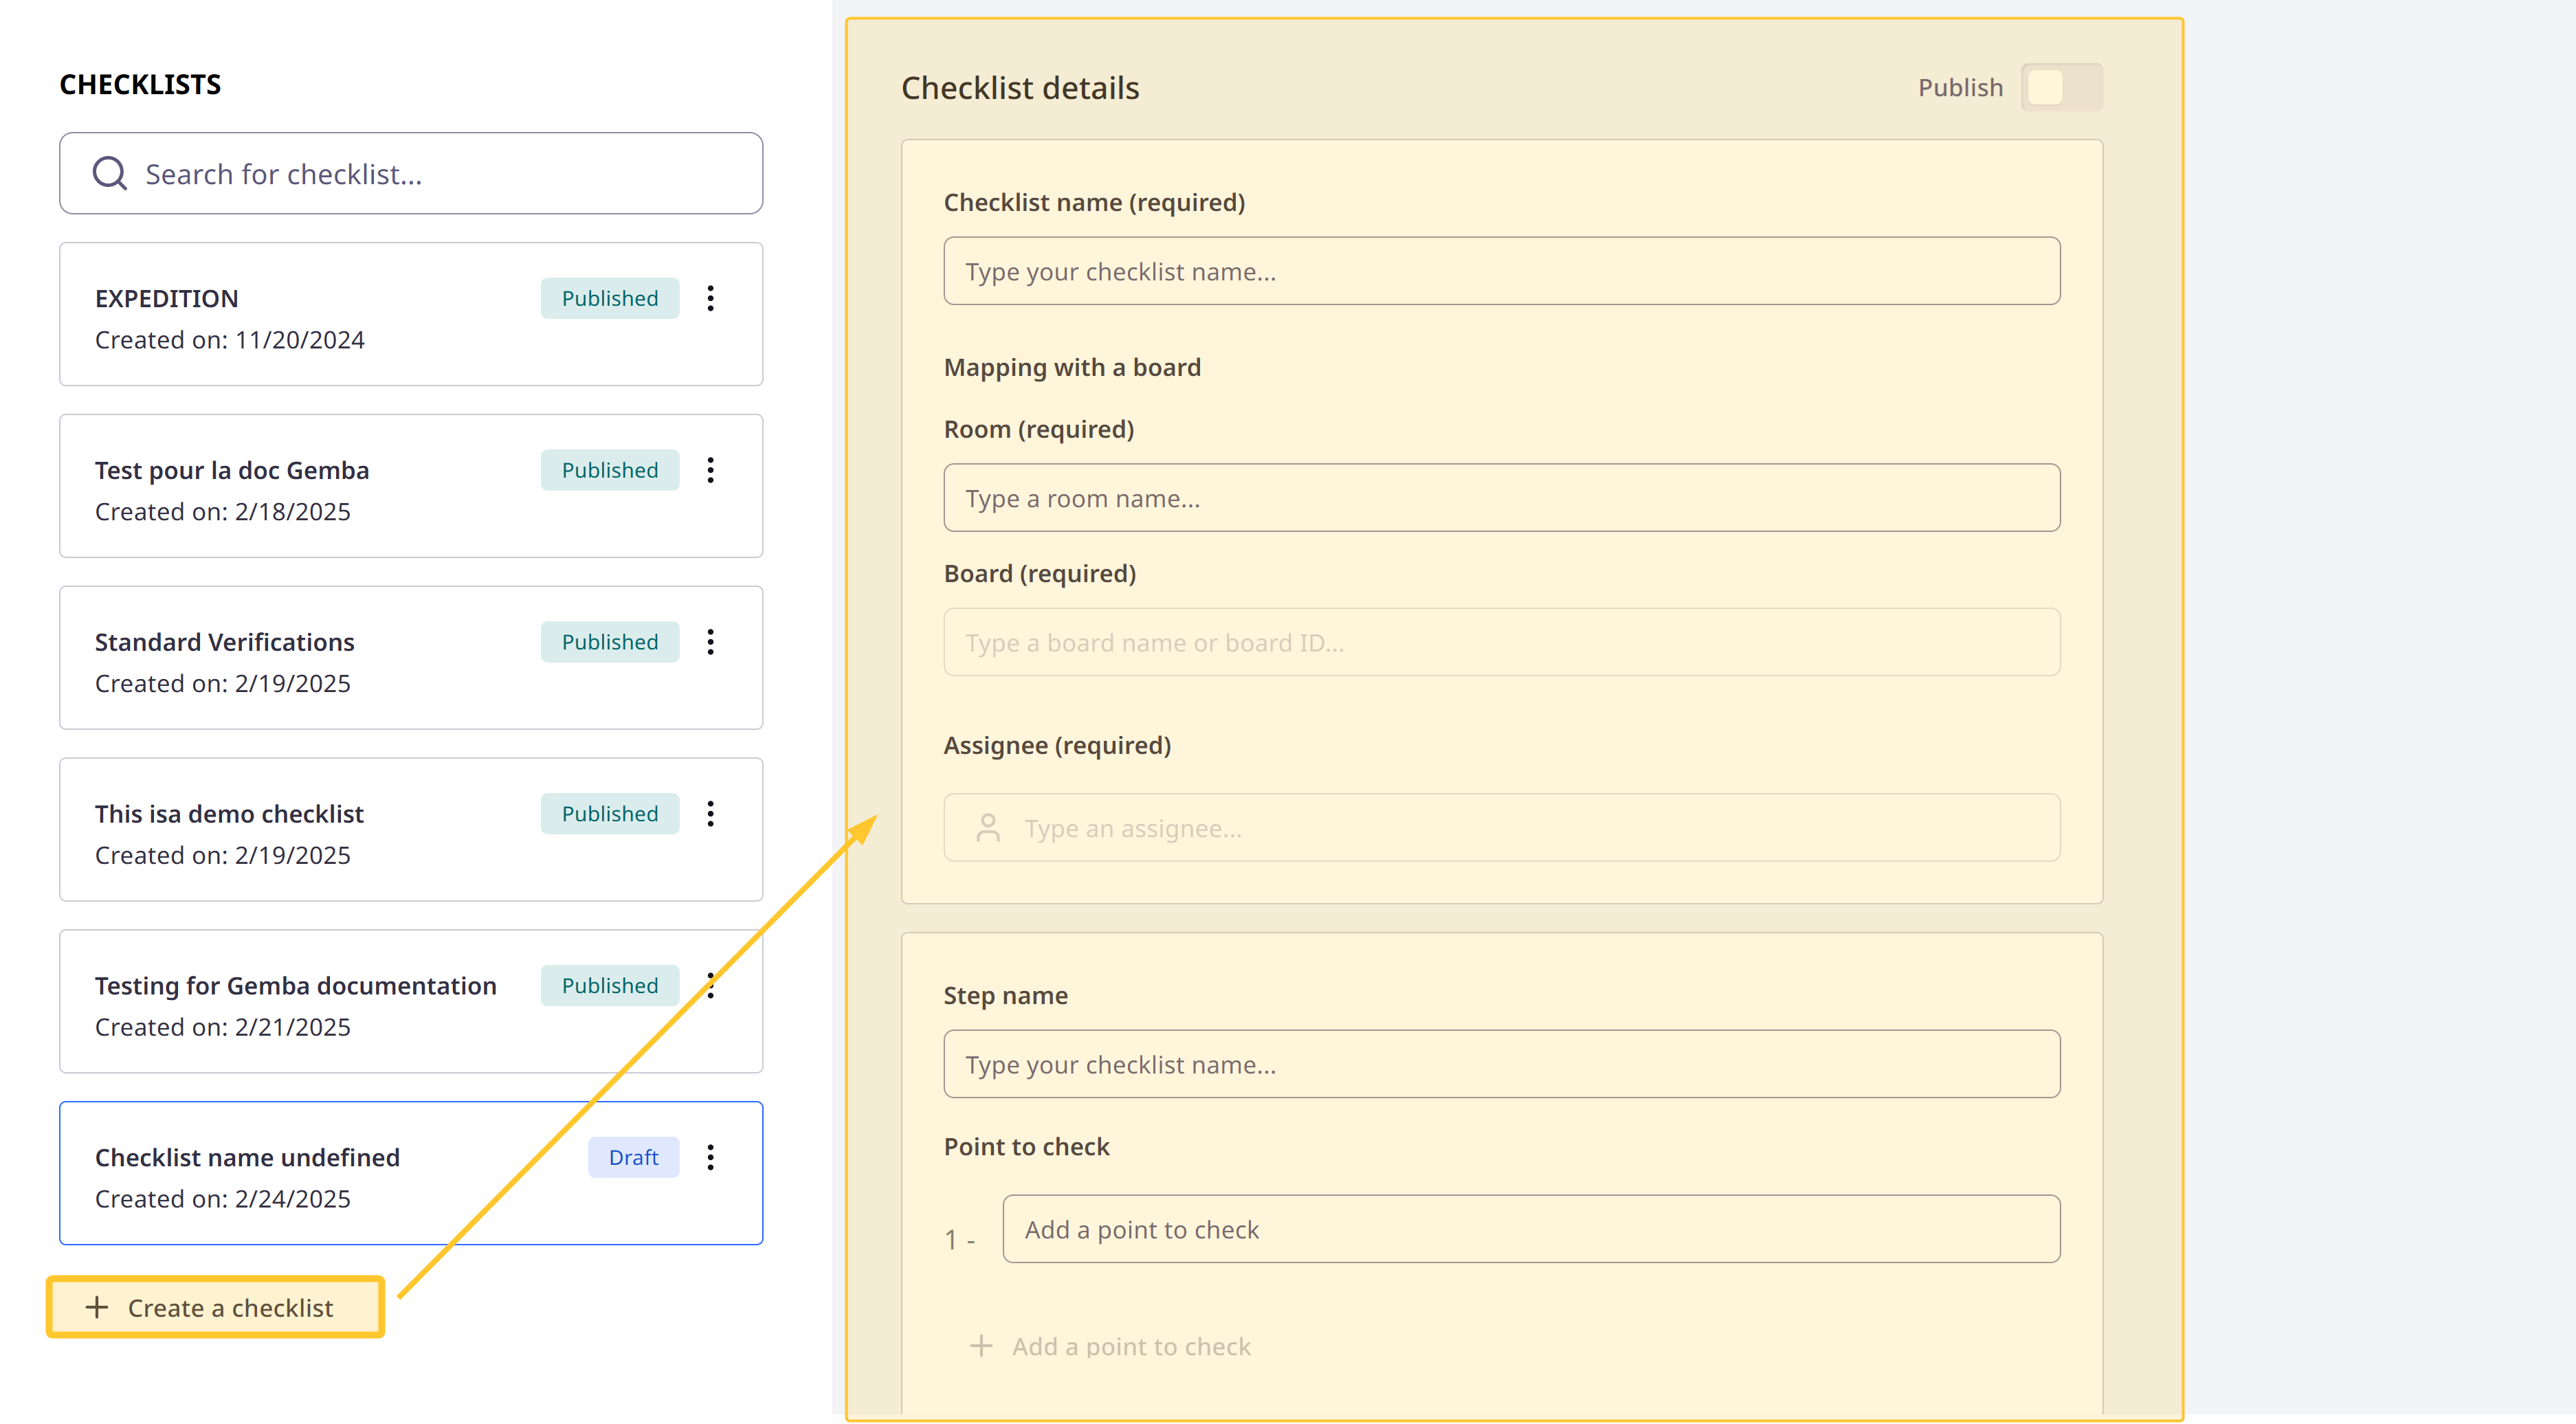
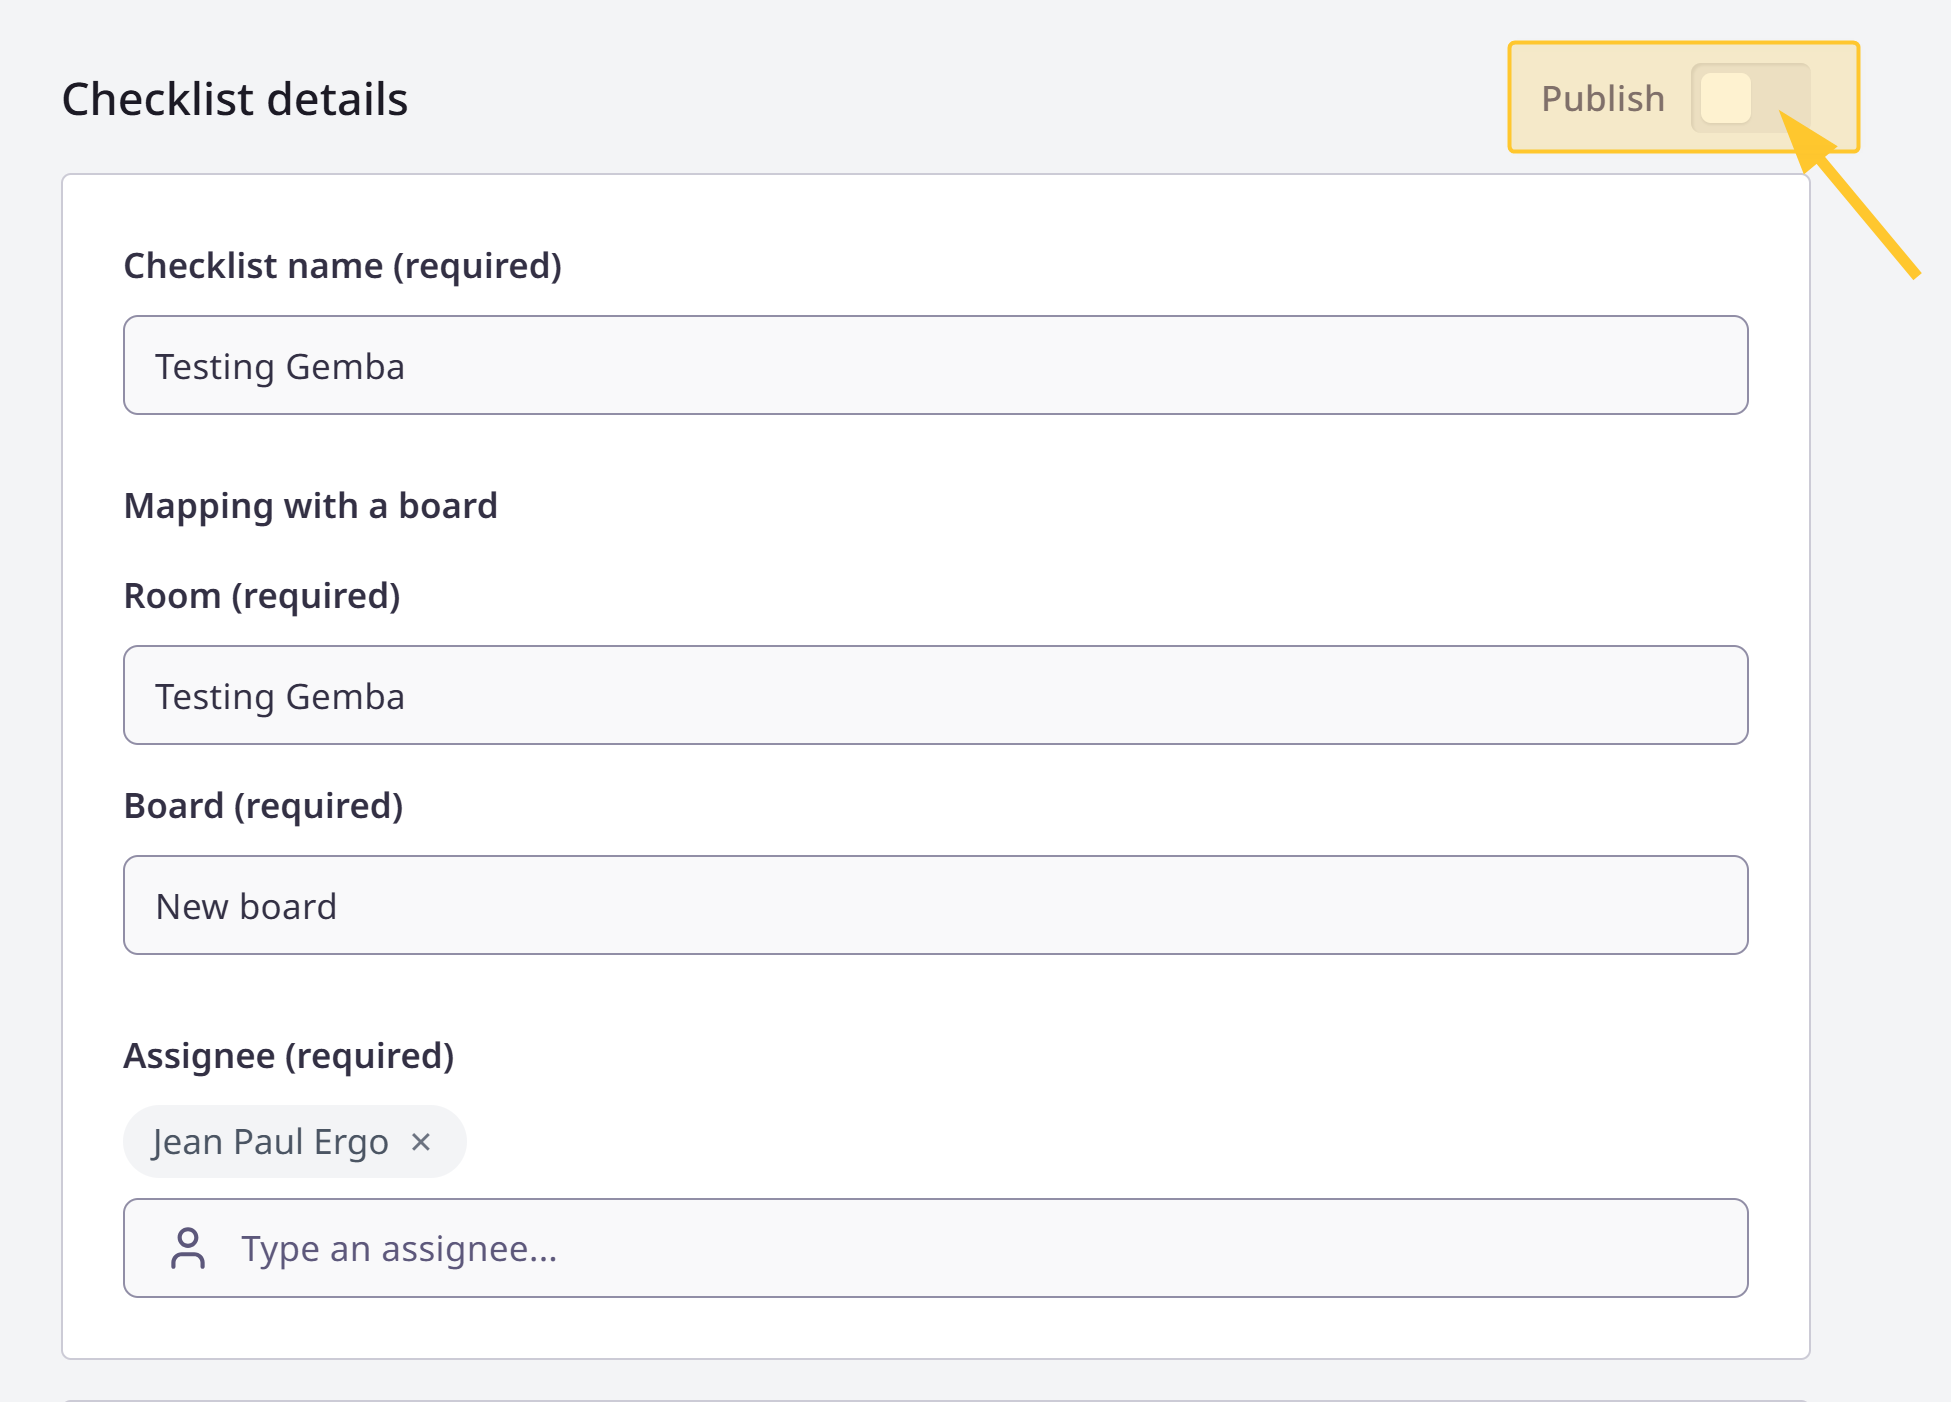
Fill in the required information.
.png)
Define your checklist name.
Select the room and the board in which you want to map your Gemba Walk.
Warning:
Only the rooms and boards you have access to are listed.
Note:
All data provided during the Gemba Walk is recorded in the board you define here.
Assign checklist to users concerned by Gemba Walk.
Note:
You can assign a Gemba checklist to up to 10 users responsible to carry out the Gemba Walks.
Warning:
Users assigned to a checklist need to have editing permissions on the board that is connected to the checklist to send problems to the board.
Tips:
If you want to test the checklists, do not forget to assign them to yourself.
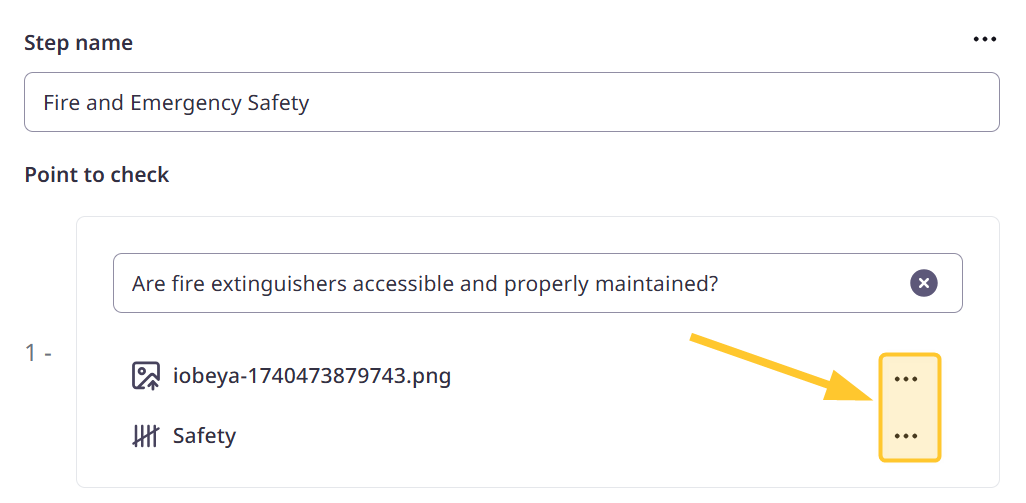
Define the steps to follow and the points to check for the Gemba Walk.
.png)
For points to check, you can add:
picture: attach images to provide visual references for specific areas or tasks that need attention during the Gemba Walk.
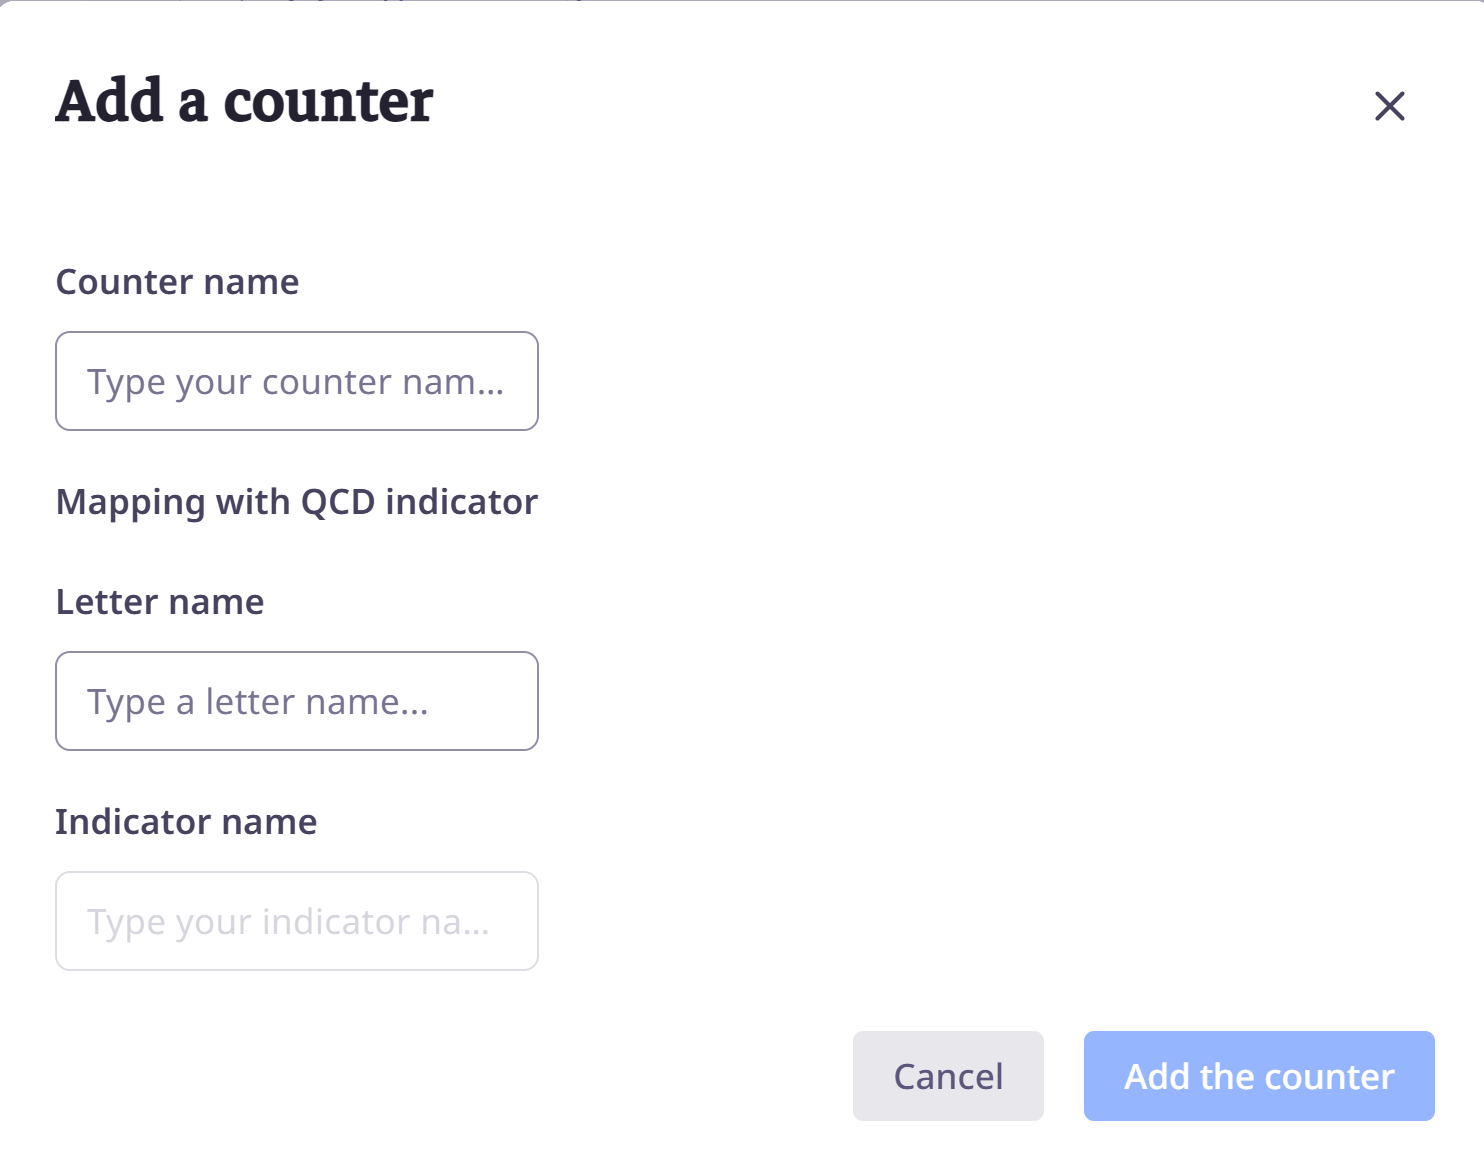
counter: map your counter with a QCD indicator. The counters automatically update the indicators on the board based on the issues reported during the Gemba Walk, which provides real-time insights for continuous improvement.
Click ... to replace an image, edit a counter or delete them.
Note:
You can:
add up to 10 steps and 20 points to check for each step. To do this, click:
+ Add a step.
+ Add a point to check.
remove a step or a point: Click …> Delete.
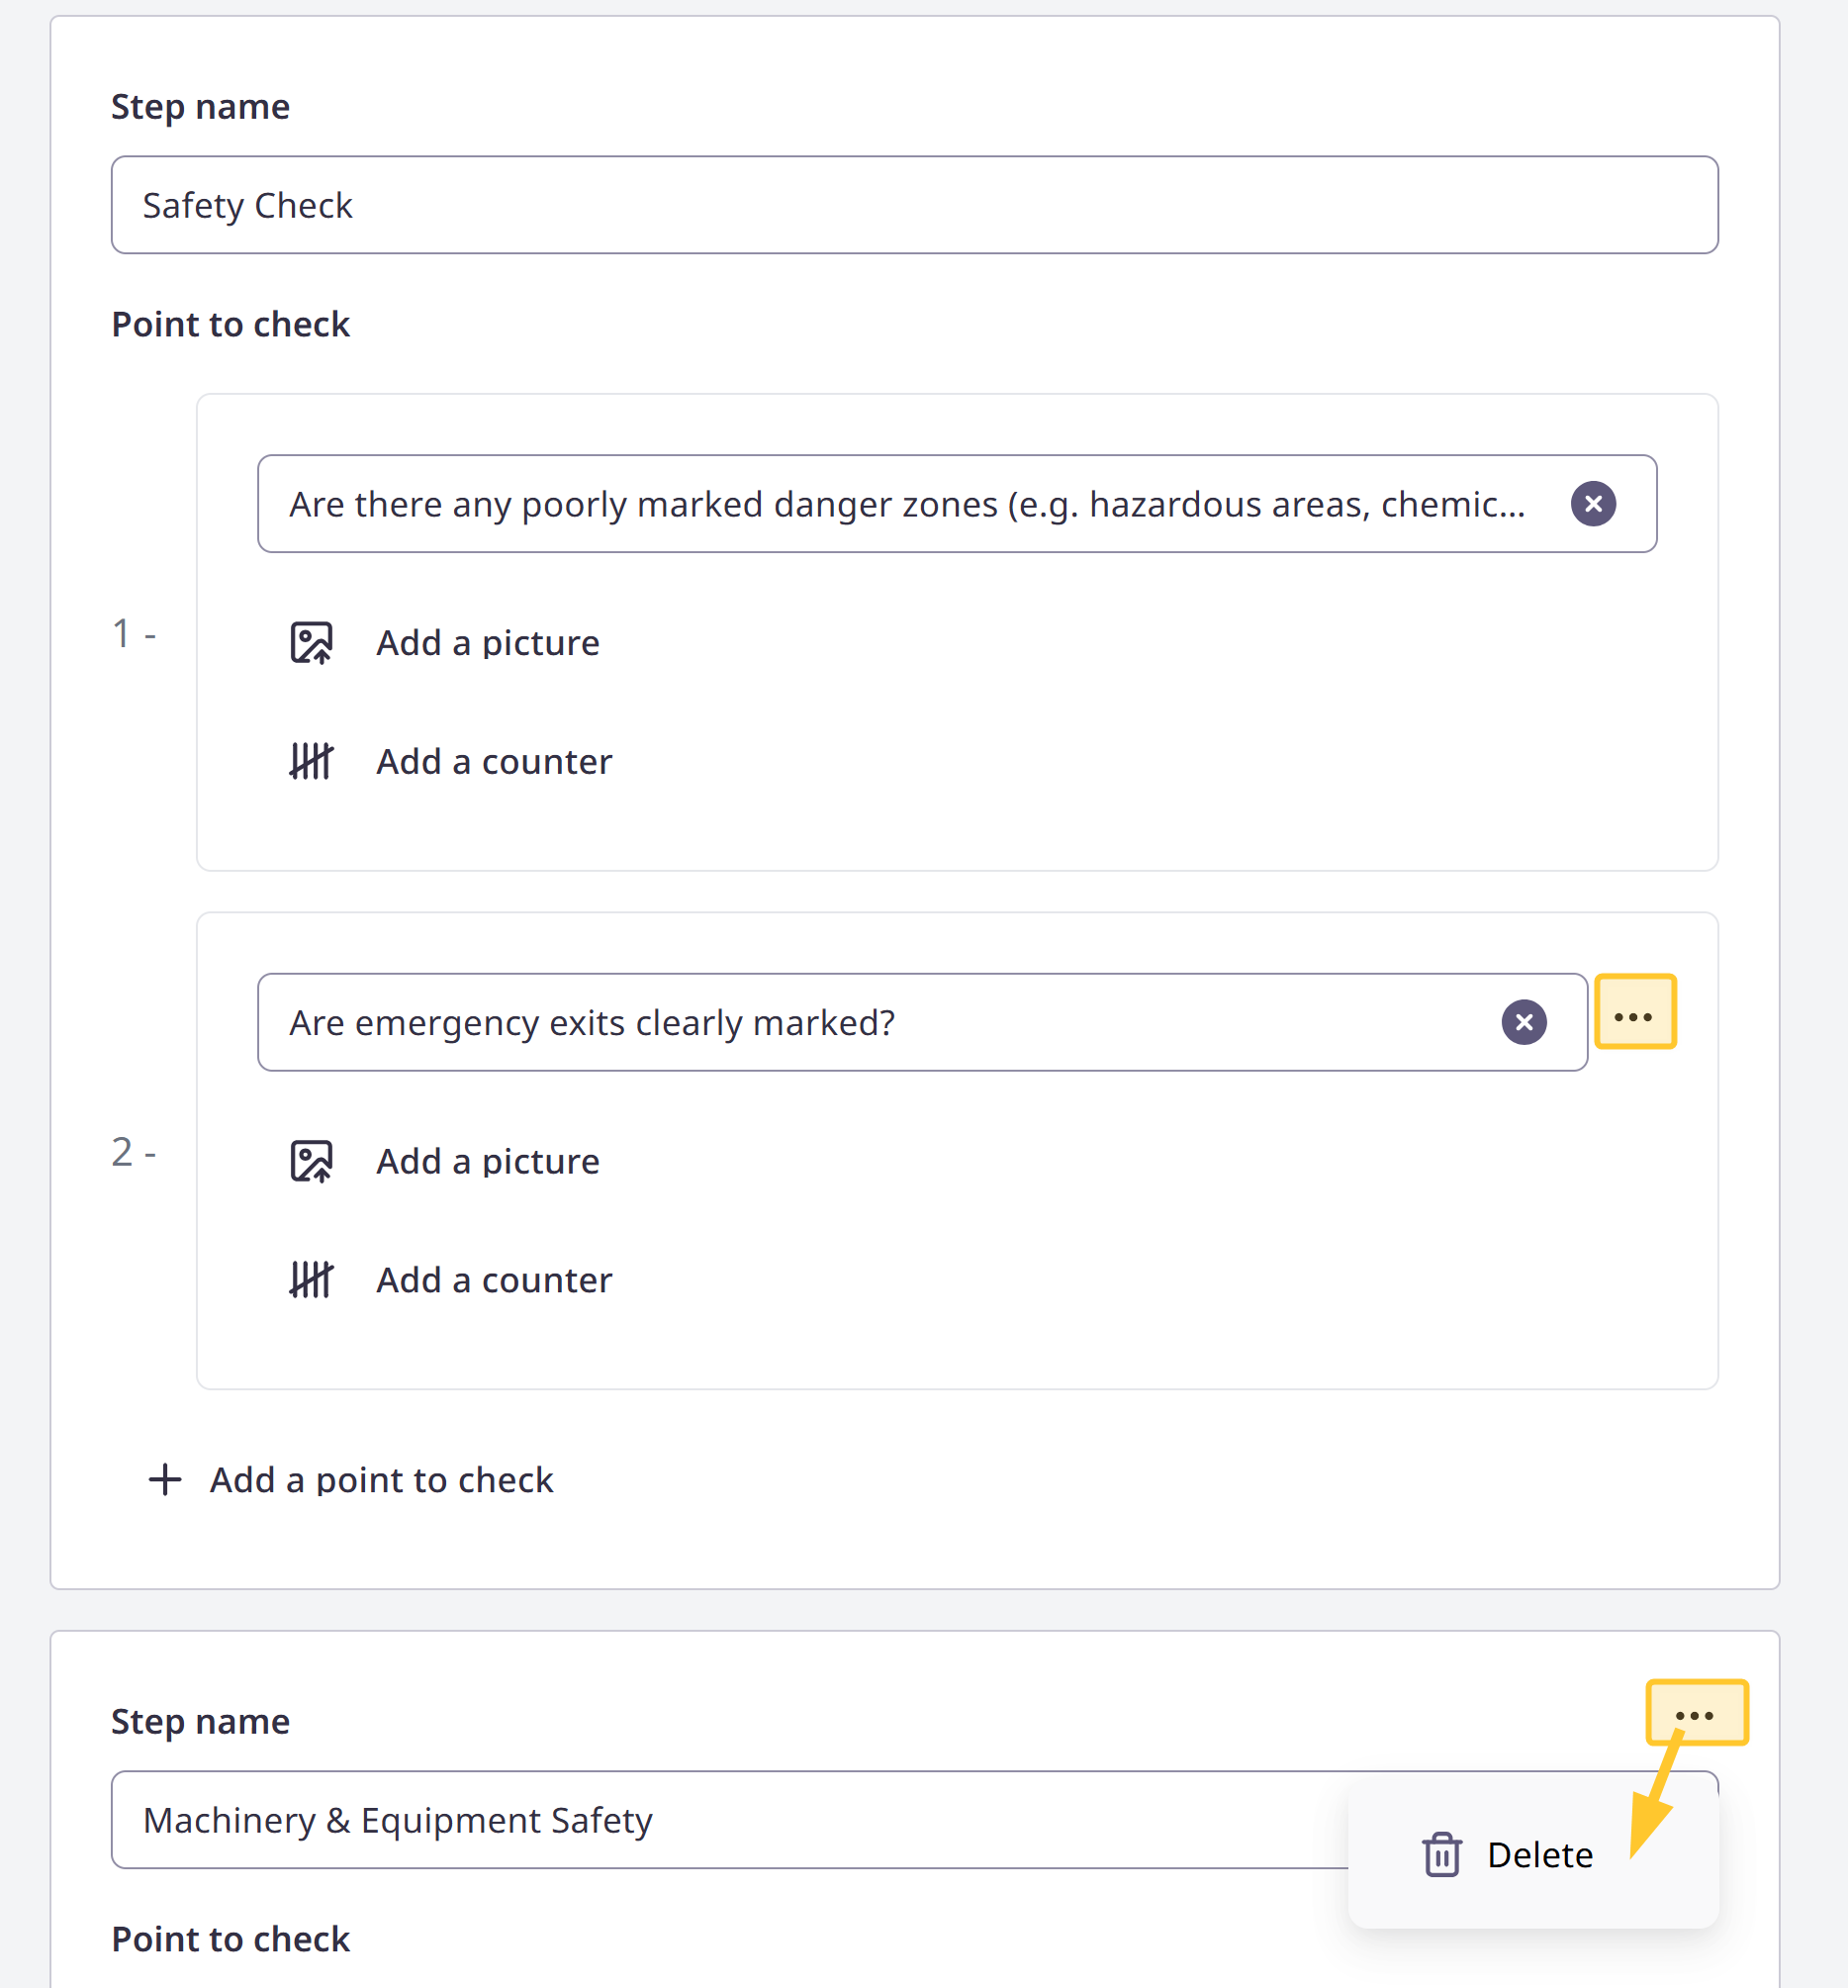
When you delete a step, points to check for this step is also deleted.
Enable the Publish toggle and confirm to publish your checklist.

Your checklist is displayed on Gemba Walk Assistant application. See Conducting a Gemba Walk.
Note:
After you publish a checklist, you can edit it as long as it is not being used for a Gemba walk. Otherwise, you need to wait until the Gemba walk is completed before you can switch it into draft mode and edit it.
Switching a Checklist into Draft Mode
Warning:
If a checklist is currently being used for a Gemba Walk, you need to wait until the Gemba walk using this checklist is completed before you can switch it into draft mode and edit it.
To switch a cheklist into draft mode:
Unpublish the checklist you want to modify: disable the Publish toogle.

Confirm the switch to draft and make the necessary changes.
Do not forget to publish your checklist again to display it on Gemba Walk Assistant application. See Conducting a Gemba Walk.