Overview
This section applies only to administrators with the right permissions in iObeya ID.
When your platform uses iObeya ID, you manage identities in iObeya ID and you manage roles and rooms in iObeya. You handle user actions depending on what you need to do.
Giving Permission to Create Users
Some administrators need permission to create identities in iObeya ID, especially when you:
use generic accounts,
do not use SSO,
need to add users manually.
An administrator with the right permissions opens iObeya ID and creates identities directly. Your iObeya consultant sets up this access for you when needed.
Creating Users
You create a user manually in iObeya ID only when you cannot use invitations or SSO. This method helps when you manage generic accounts or special access cases.
To add a user manually in iObeya ID:
Go to the Users section.
Click Add User.
Enter the user information: username, email.
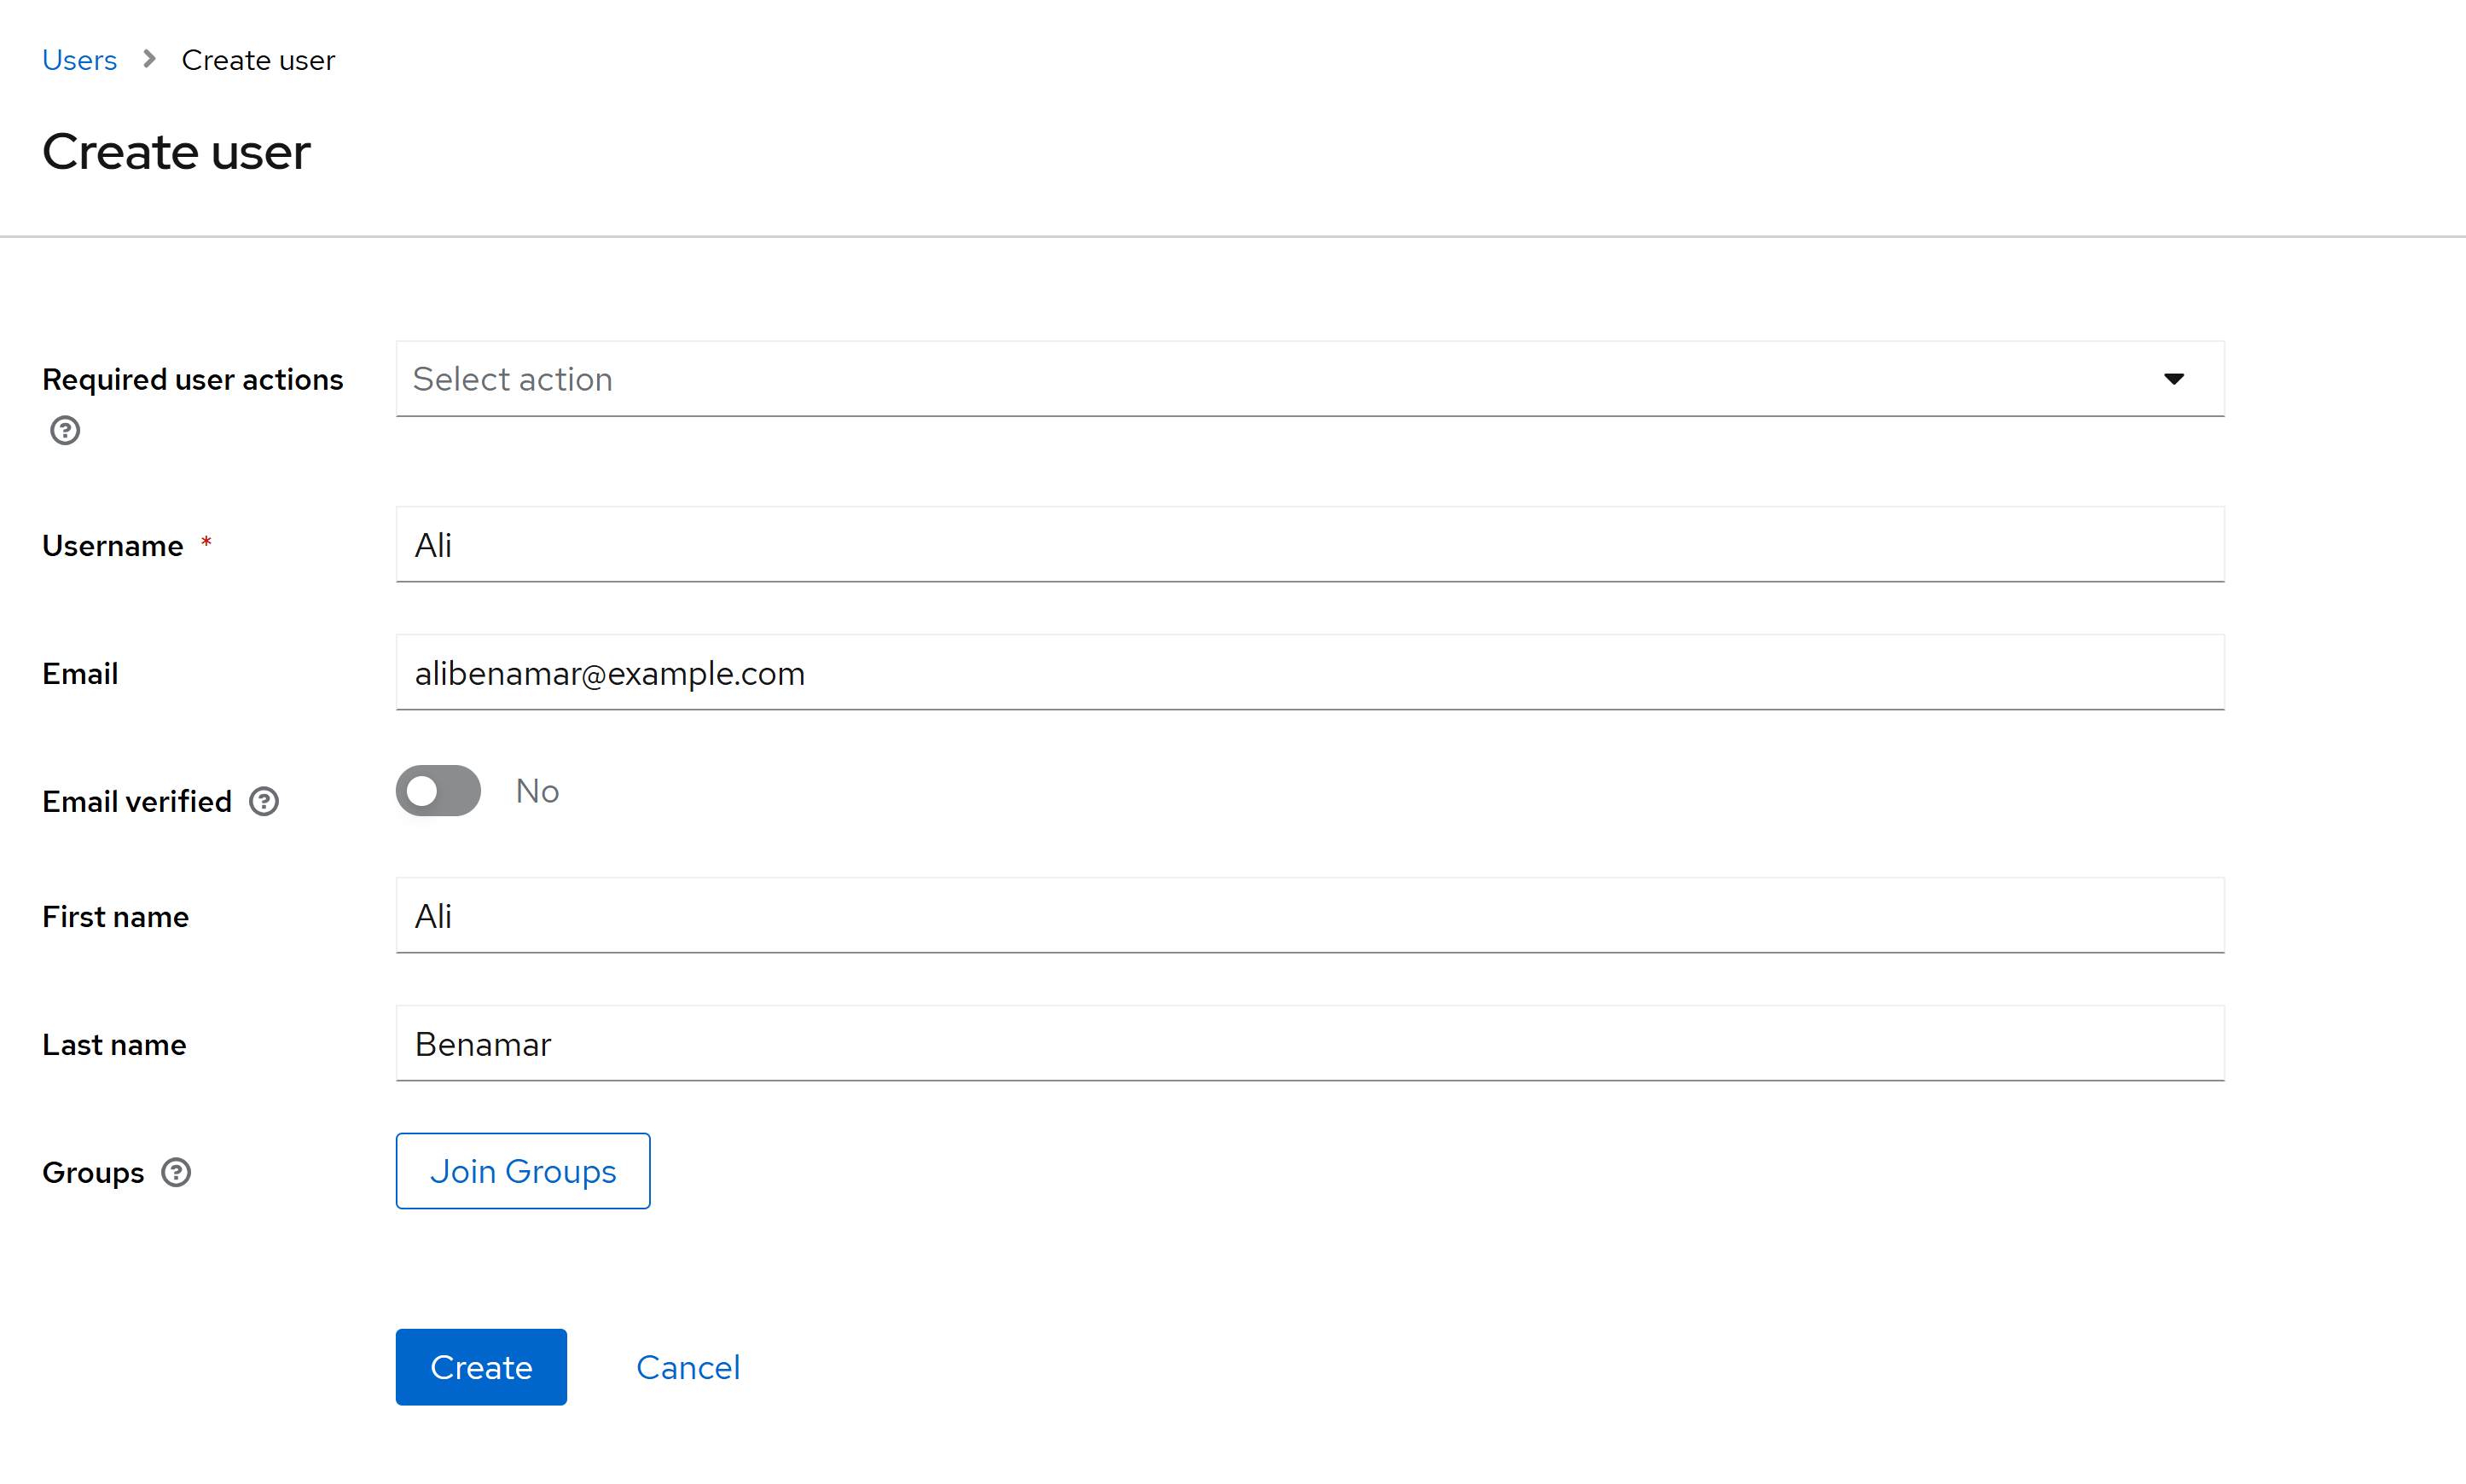
Do not select any specific user actions, any groups.
Decide if you want to verify the email.
verified: the user signs in directly.
not verified: the user receives an email to enable the account.
Click Create.
The account is created in iObeya ID.
After you create the identity, iObeya ID does not send any notification about it. You share the account information manually with the user.
To find out more about creating users, see the Keycloak documentation.
Managing Groups
You manage groups only in iObeya. iObeya ID does not sync groups and does not control roles or access inside the platform.
If you need to assign a user to a group, open iObeya and add the user manually after the identity exists in iObeya ID.
Using Bulk Actions
Bulk import does not exist in iObeya ID.
If you need to onboard many users, use:
invitations
SSO auto-provisioning
controlled manual creation
Your consultant helps you select the best option based on your setup.
Resetting a Password
You can reset your password from the login page when the iObeya ID configuration allows it:
Click Forgot password?
The page asks you to enter your email or your username. After you submit the form, you receive a reset link
Create a new password through iObeya ID.
If you cannot reset your password or if password reset is not enable, your iObeya ID administrator can set a temporary password for you. iObeya ID does not send any email in this case. Your administrator shares the temporary password with you through a secure paste service.
You sign in with the temporary password and set a new one during your next login.