Overview
When your platform uses iObeya ID, identity and access follow a specific structure. Understanding how both systems work together helps you manage users correctly and avoid misunderstandings.
Understanding How User Accounts work
Each user always has 2 separate accounts:
one account in iObeya ID
one account in iObeya
These two accounts do not update each other automatically but they are still linked. They are connected through the SAML configuration because:
both accounts use the same email address or username.
iObeya account is created automatically the first time you sign in.
This link allows iObeya to load your roles while iObeya ID manages your identity.
Knowing What Administrators See
By default, administrators do not interact with iObeya ID. They manage users and roles inside iObeya, not inside the identity service.
The identity service is handled mostly by consultants and support teams. Access to iObeya ID can be given to customers when needed but it is not required for daily administration.
Reflecting Changes on Both Sides
Since iObeya ID and iObeya manage different parts of your account:
change inside iObeya does not modify your identity in iObeya ID.
change in iObeya ID must be reflected inside iObeya.
For example:
If you delete a user in iObeya, the identity still exists in iObeya ID.
If you delete an identity in iObeya ID, the user still appears in iObeya with the same roles until the next login.
Accesing iObeya for New Users
iObeya ID stays in front of iObeya, which means users handle most of their own account creation. Several entry points exist and each one creates the identity in iObeya ID before iObeya opens.
You can access iObeya through:
an iObeya invitation
self-creation when registration is active (for legacy v4 versions)
your company SSO login
manual account creation in iObeya ID when needed
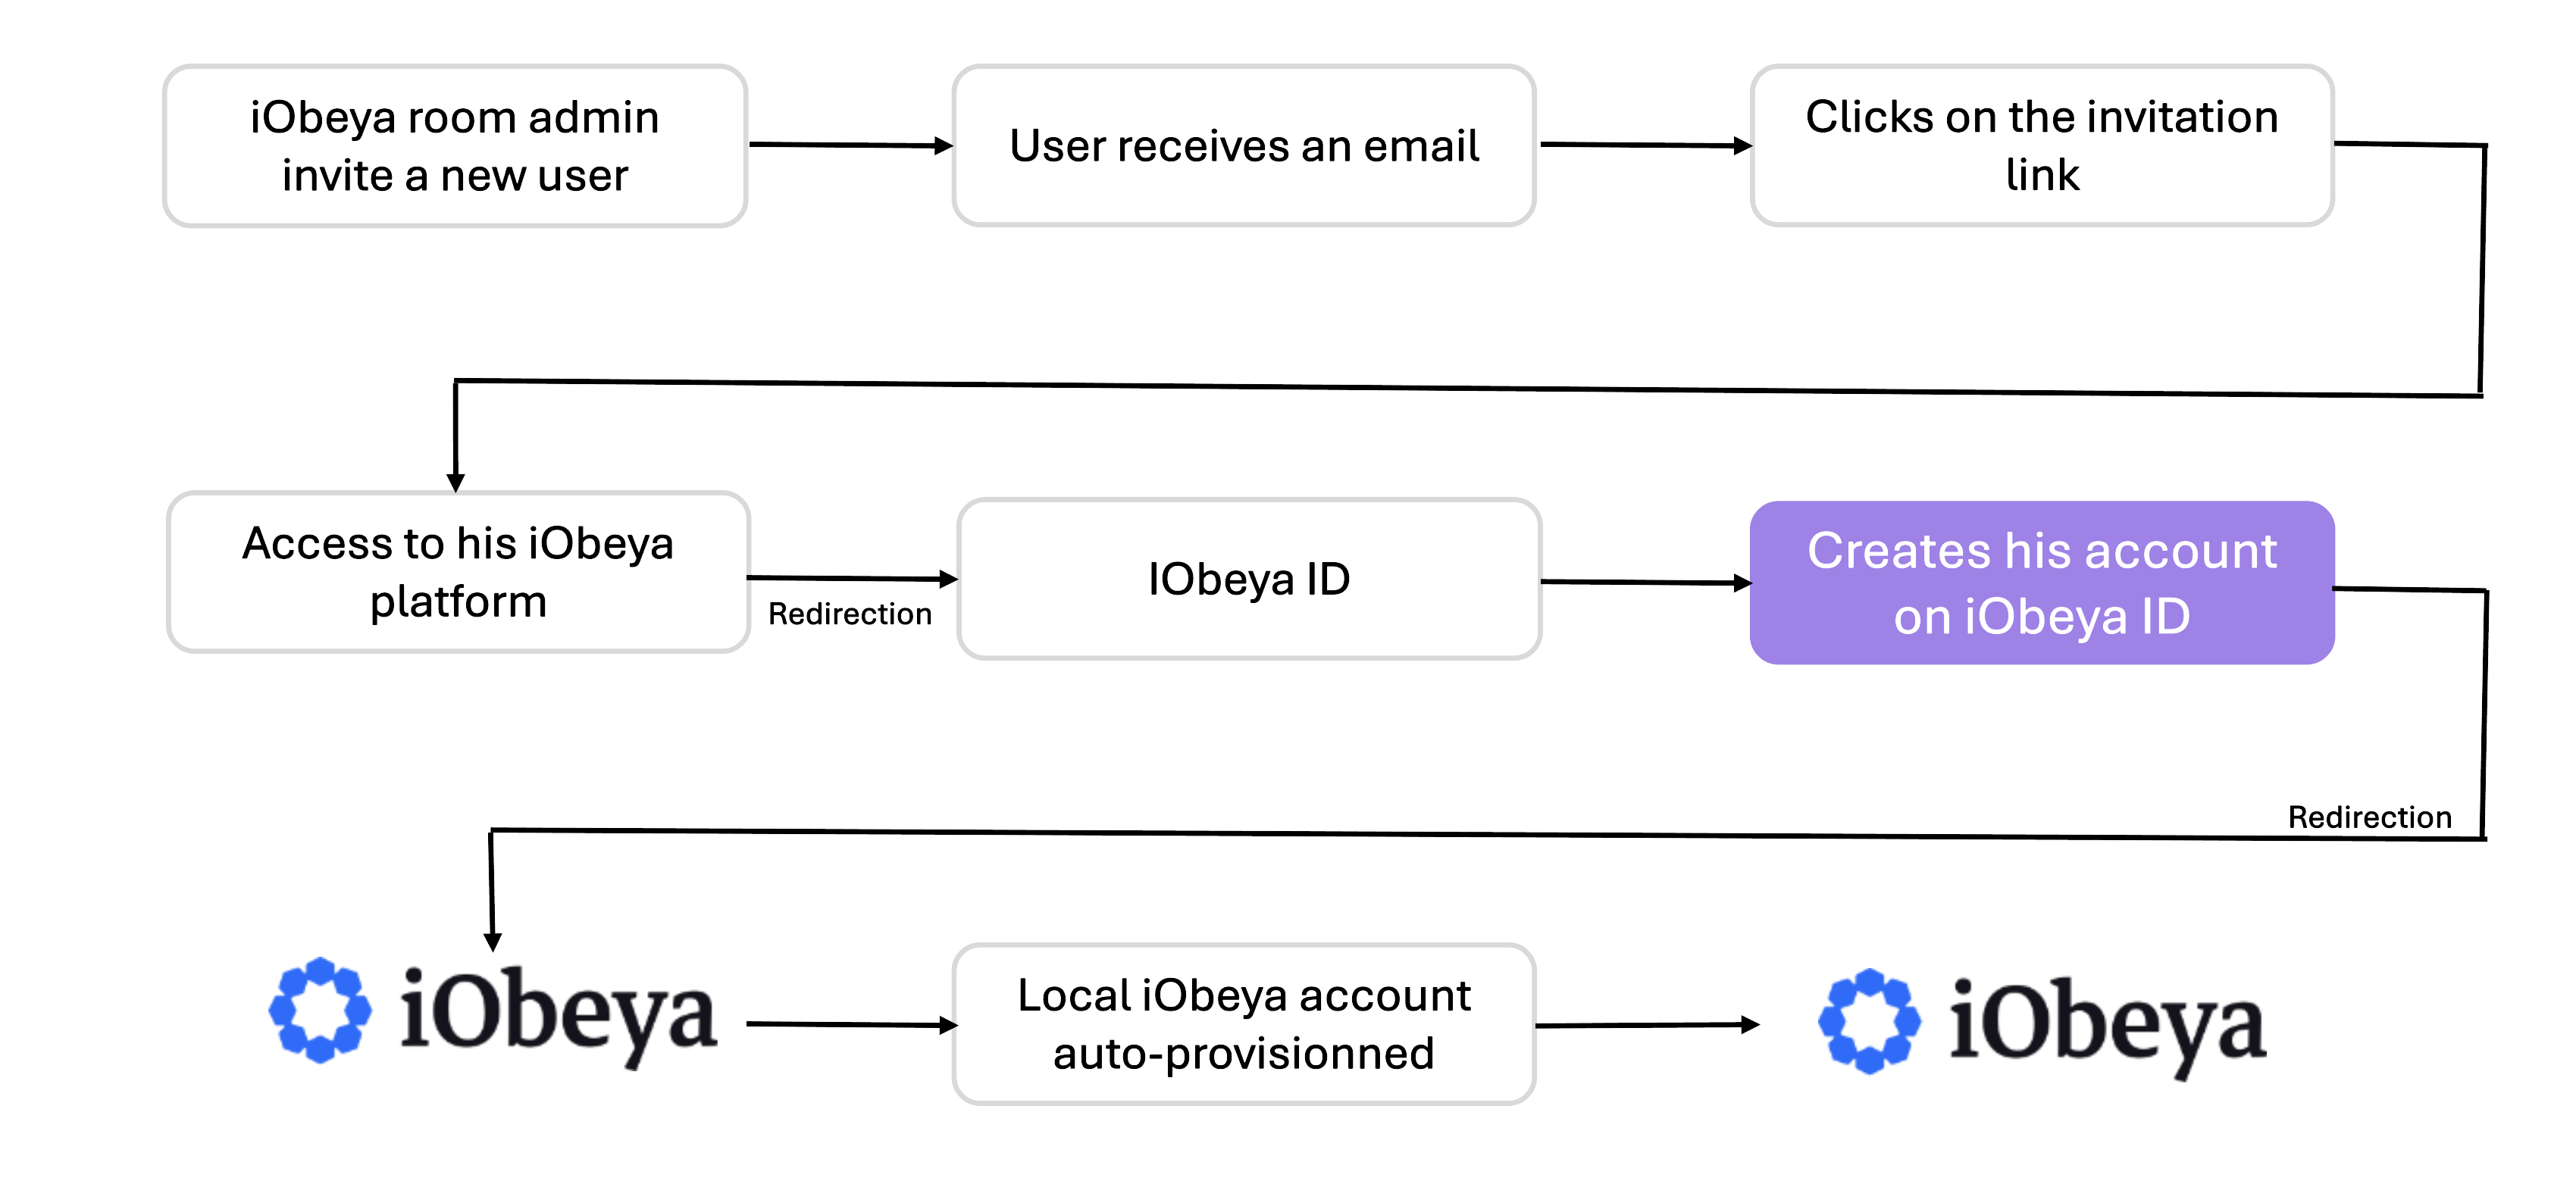
Using an iObeya invitation
An invitation is the recommended method for adding users.
When you receive an invitation, you:
follow the link,
create your identity in iObeya ID,
enter iObeya and your roles load automatically.
If you do not use SSO:
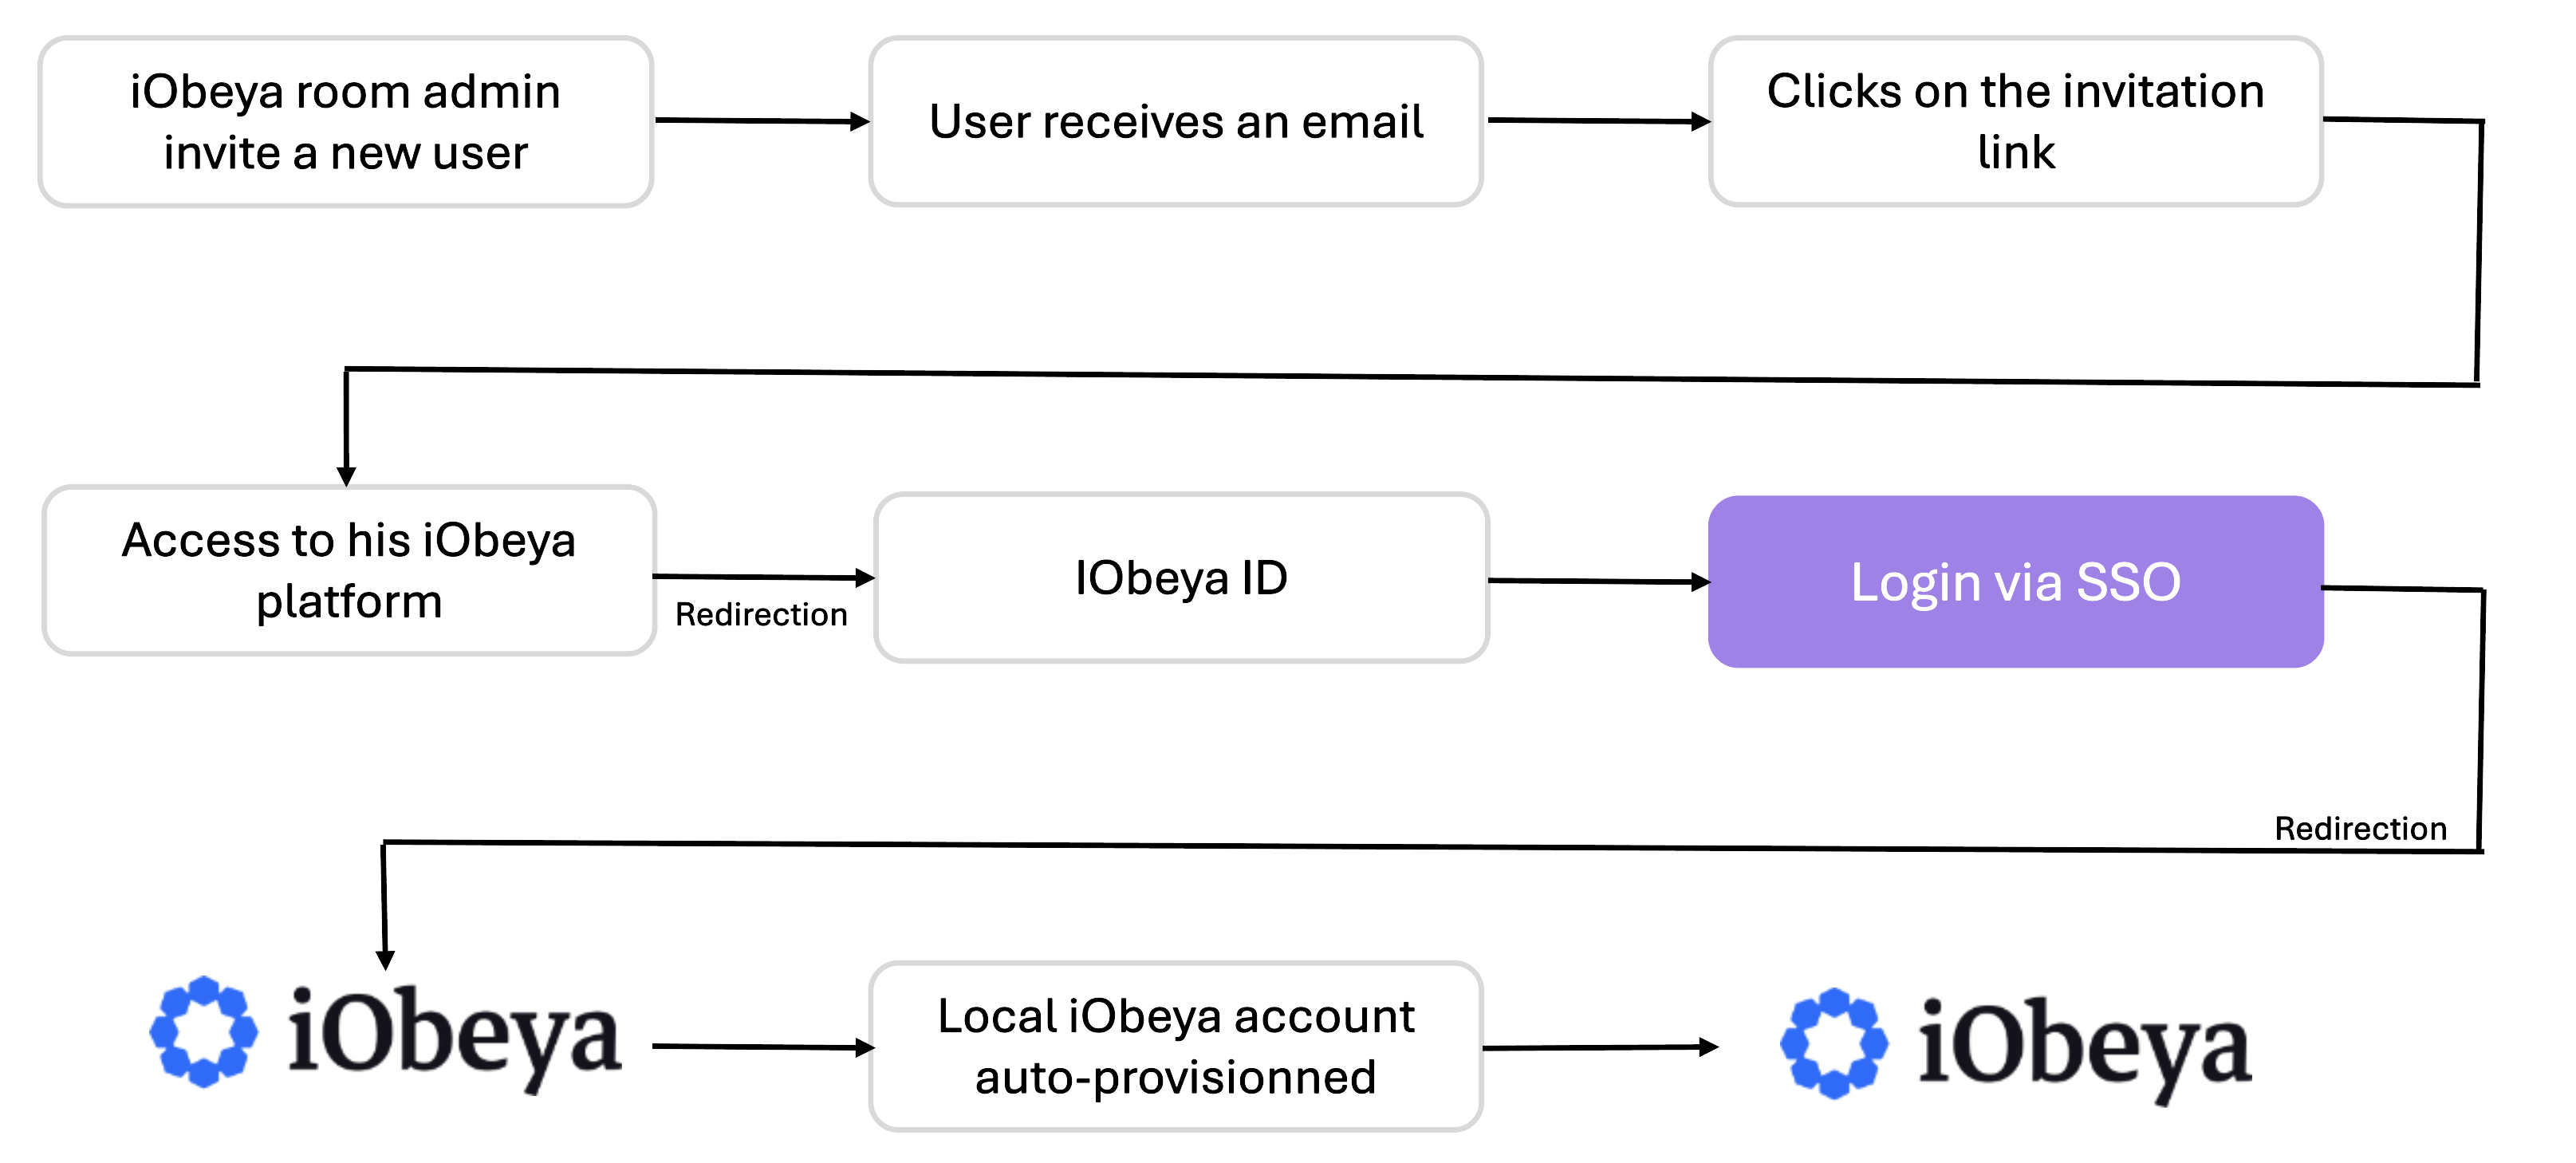
If you use SSO:
Using Self-Creation
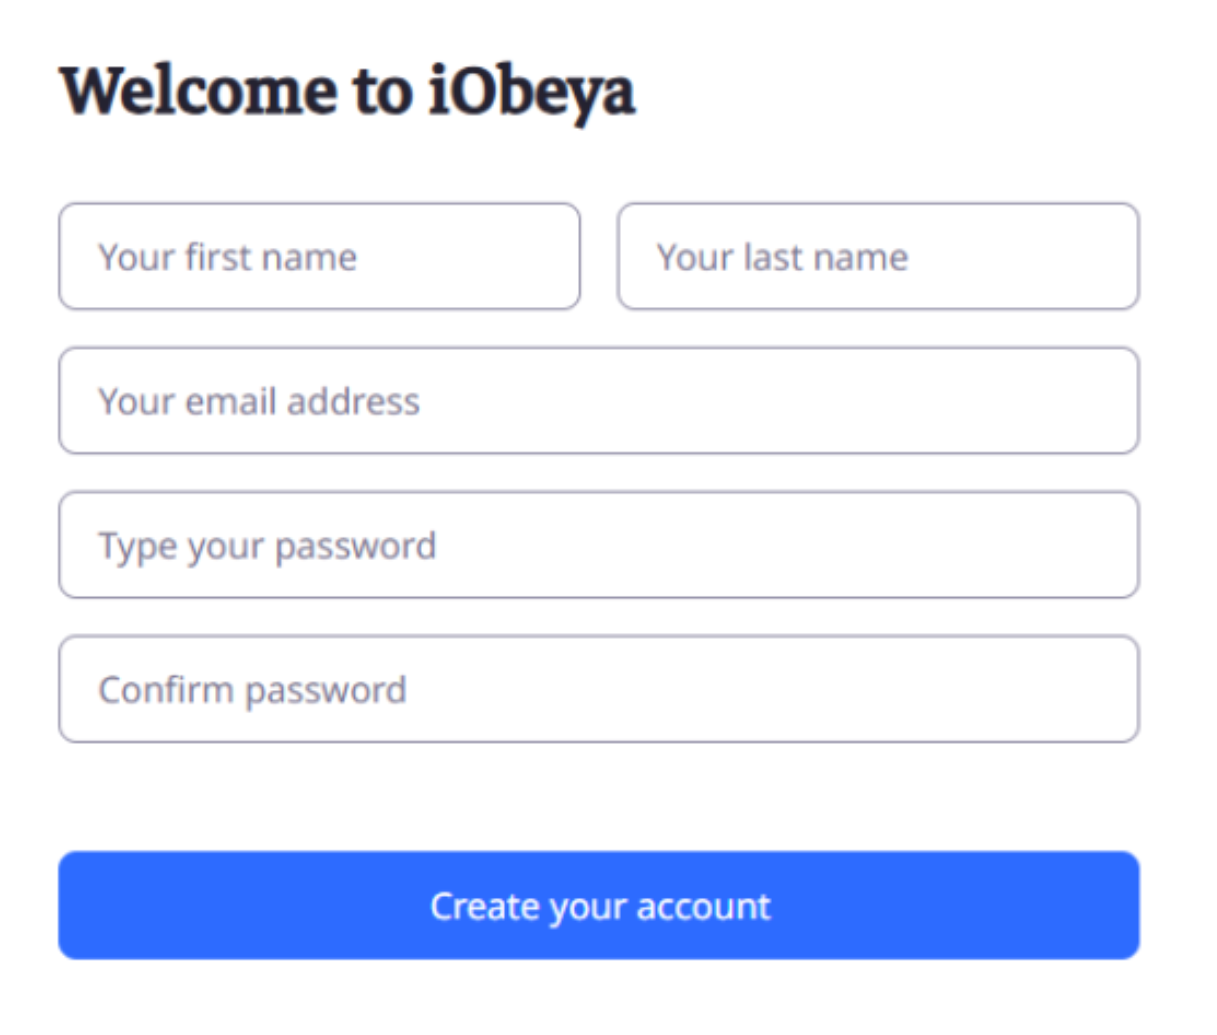
When self-creation is active, you create your own identity, you:
open the login page,
select the option to create an account,
enter a valid email from an approved domain,
complete email verification when needed,
enter iObeya once your identity exists in iObeya ID.
Using SSO login
If your platform uses SSO:
you click the SSO button.
you authenticate through your company login.
iObeya ID receives your identity.
iObeya creates your application account during your first access.
you do not perform any additional steps.
Using a Manually Created Account
Manual creation exists although it is not the recommended way to add new users. You may need it in special cases, for example when you use a generic account that does not rely on SSO.
When you receive a manual account:
your identity exists in iObeya ID
you sign in with the credentials your administrator gives you
you enter iObeya and your roles load normally
If someone creates your account only inside iObeya and not in iObeya ID, you cannot sign in. You always need an identity in iObeya ID first because iObeya ID manages authentication.
Key points:
iObeya ID does not send any email when someone creates a manual account.
You need an administrator account in iObeya ID to add users manually. This administrator can come from your team or from the iObeya team.
About Permissions
You manage room permissions directly inside iObeya.
iObeya ID does not control rooms, content or any business rules in the application.
Deleting Users
When you delete a user inside iObeya, you remove the roles and access inside the application. The identity in iObeya ID still exists because iObeya ID manages authentication only. This leftover identity does not create a problem because the user no longer enters iObeya, yet you need to know that the identity stays in iObeya ID by default.
If you delete the user only in iObeya ID, the account inside iObeya keeps its roles. In this situation, the user can recreate the identity in iObeya ID through self-creation or through SSO auto-provisioning. When this happens, iObeya reads the same email address, links it to the existing application account and loads the previous roles.
To avoid this, you update or remove the user in both places when needed:
you manage permissions and access inside iObeya
you manage identities inside iObeya ID
Both parts stay separate; therefore you check each one when you clean user accounts.